
Getting started
A tour of the PhotoFresco editor — the toolbar, options bar, panels and canvas — plus how to open, edit and save your first image.
PhotoFresco is a free, Photoshop-style image editor that runs entirely in your browser. There is nothing to install and no account to create: open photofresco.com/app/, and the editor is ready in seconds. Everything — rendering, brushes, filters, file handling — happens on your own machine.
Open the editor
Head to the editor. You'll land on the start screen, where you can:
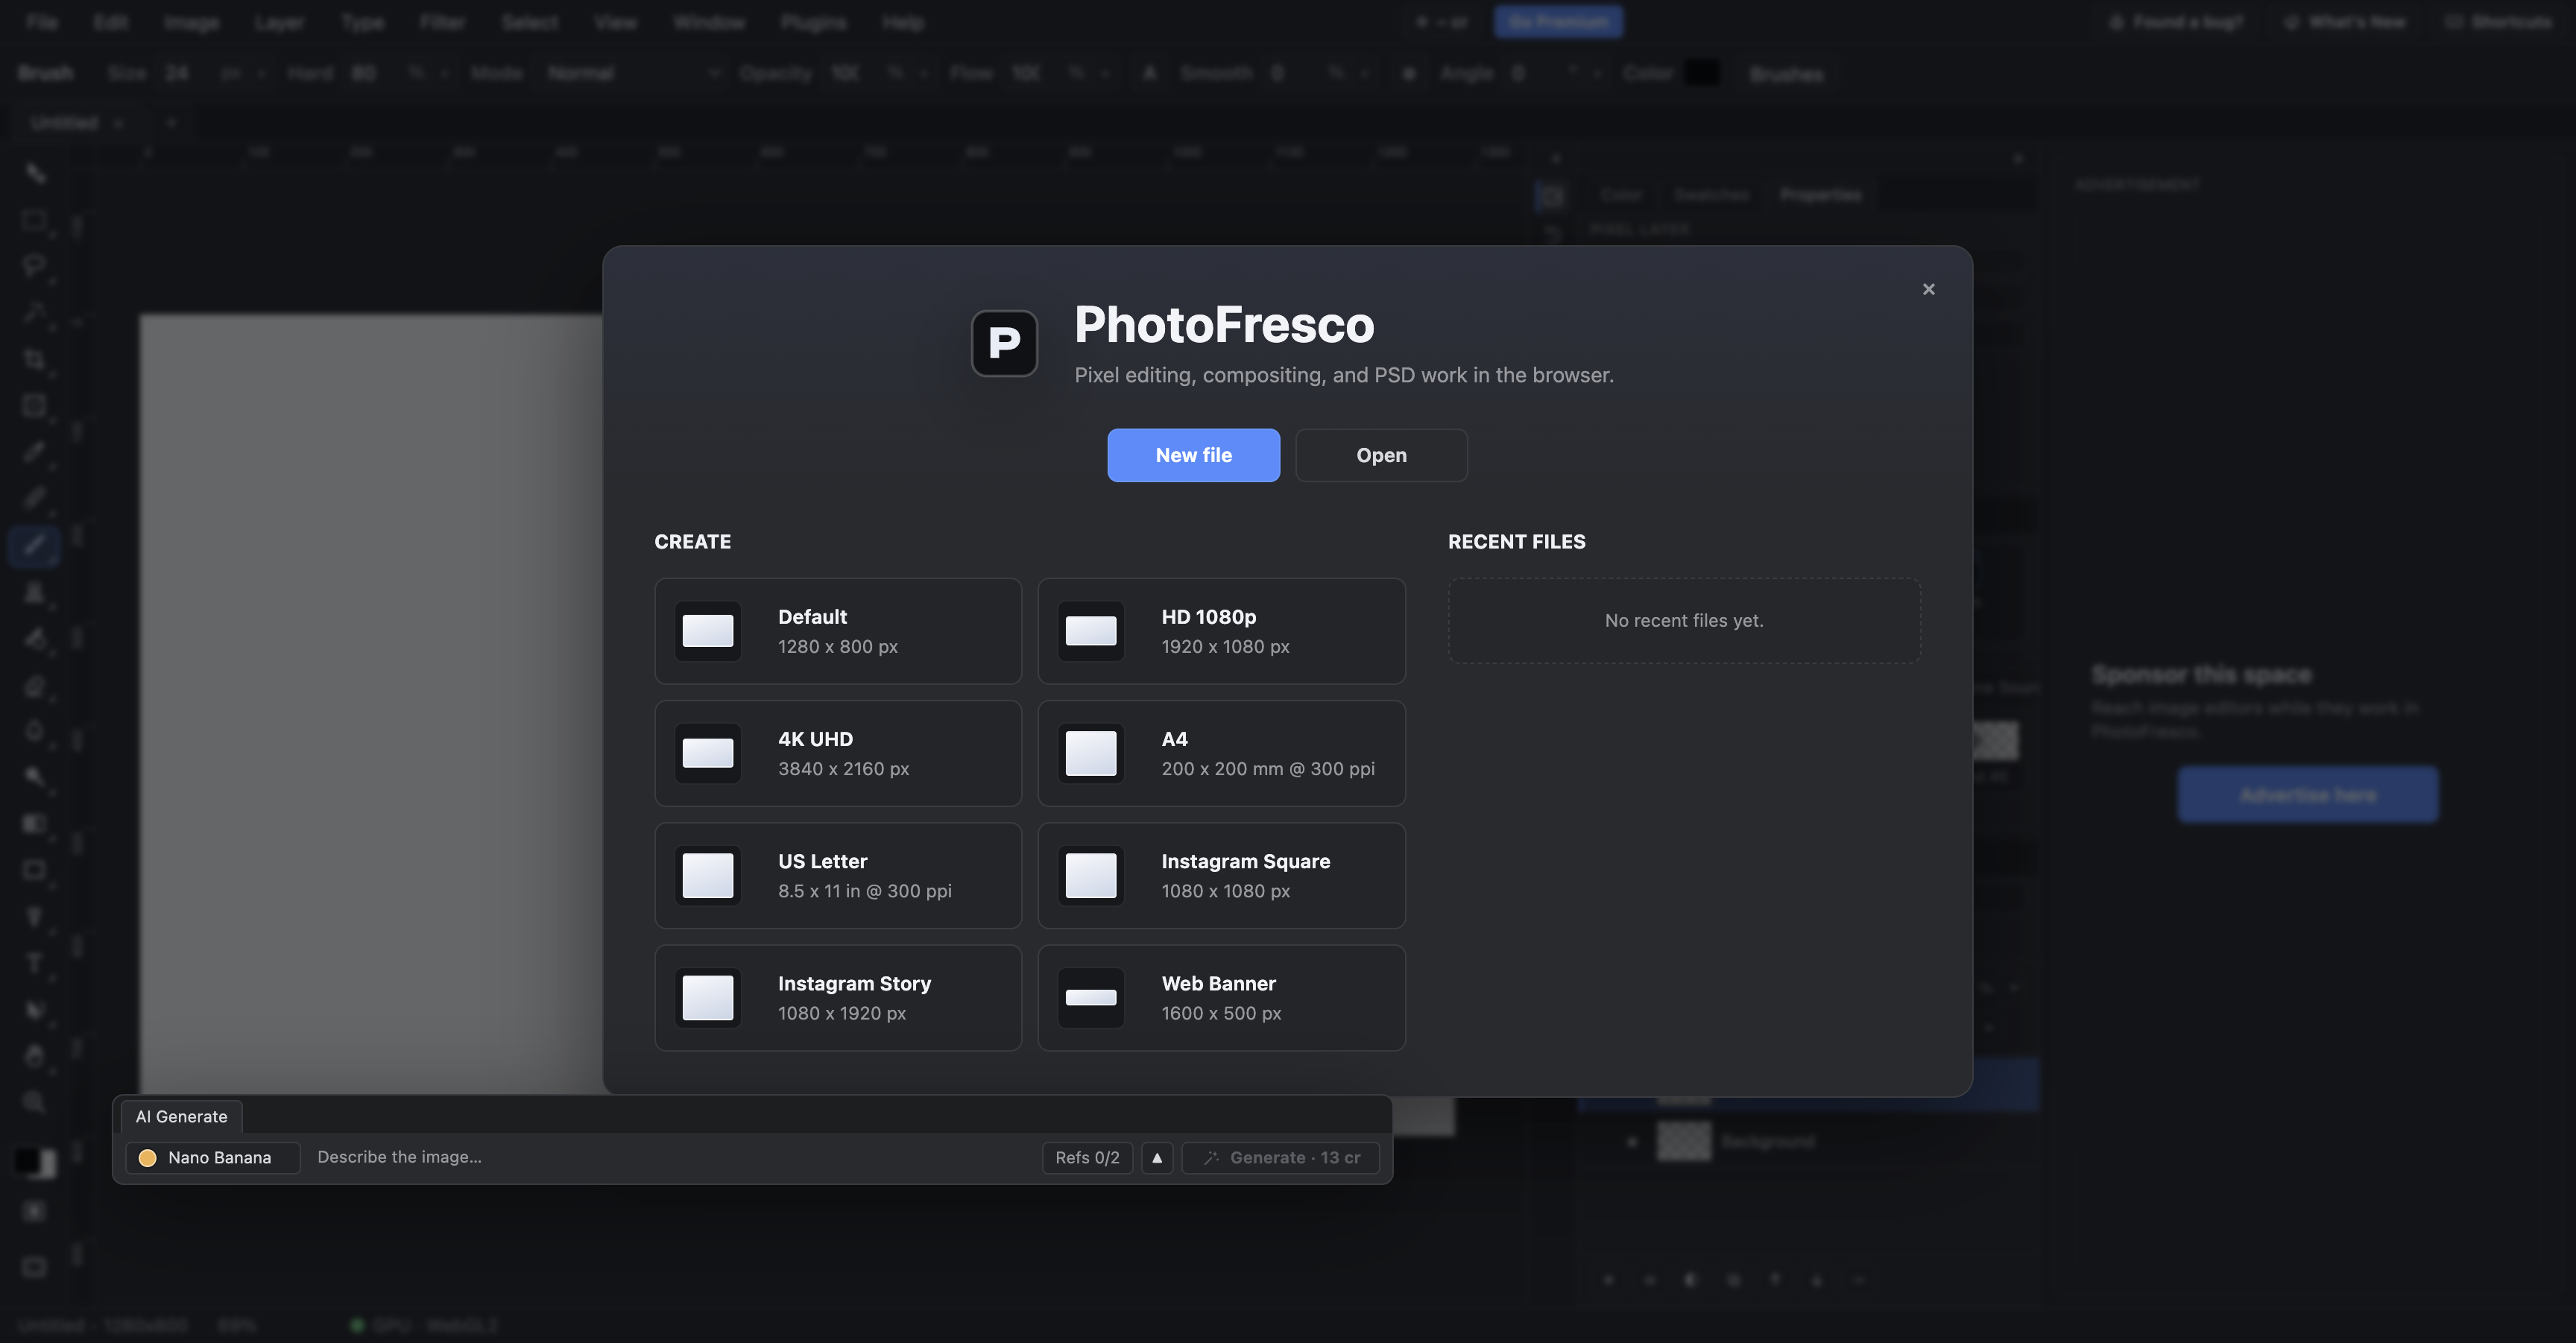
- Create a new document — pick a size and background in the New Document dialog (also
File ▸ Newlater). - Open a file — PSD files and PNG, JPEG, WebP, GIF, BMP or AVIF images via
File ▸ Open. Very large or damaged files are refused with a message that names the limit; see Opening files & limits. - Reopen recent work —
File ▸ Open Recentremembers what you had open. - Browse My Documents — a built-in library (
File ▸ My Documents…) that stores documents in your browser, so they survive closing the tab.
Opening reads the image into your browser for on-device editing. Session recording can upload copies of opened images to help improve PhotoFresco. See Privacy.
The interface at a glance
The layout mirrors what you know from desktop editors:
On a phone, tools stay on the left, panel buttons sit on the right, and AI opens only when you tap AI. Start with Editing on your phone for the mobile layout, touch controls and bottom ad strip.

- Menu bar (top) — File, Edit, Image, Layer, Type, Filter, Select, View, Window, Plugins and Help. If you're hunting for a command, it's here.
- Toolbar (left) — the tools, grouped Photoshop-style. One button per group; press the group's key letter to switch to it, press Shift + the letter to cycle within a group, or long-press / right-click the button for the fly-out list. The foreground/background color chips sit below the tools (
Xswaps them,Dresets to black & white), with the Quick Mask (Q) and screen-mode (F) toggles at the bottom. - Options bar (under the menu) — settings for the active tool: brush size and hardness, selection feather, wand tolerance, type controls, and so on.
- Panels (right) — Layers, Properties, Adjustments, History, Color, Brushes, Channels, Paths, Navigator and more. Toggle any panel from the Window menu; drag tabs to rearrange, or tear a panel out into a floating window.
View ▸ Workspacecan save or reset your arrangement. - Canvas (center) — your document, in tabs when several are open.
View ▸ Arrangeoffers side-by-side layouts. - AI prompt box (bottom) — type a prompt, pick a model, and generated images land in your document as layers. See AI generation & credits.
Your first edit
A quick loop to get a feel for the app:
- Open an image (
File ▸ Open). - Press
Bfor the Brush and paint a stroke — size and hardness live in the options bar,[and]change the size as you work. - Press
Mand drag a rectangular selection, then apply an adjustment —Image ▸ Adjustments ▸ Curvesaffects only the selected area. - Made a mess?
⌘Z / Ctrl+Zundoes; the History panel (Window ▸ History) shows the whole trail — the last 64 steps are kept. - Add a layer in the Layers panel and try a blend mode from its dropdown.
Navigating the canvas
- Zoom —
⌘+ / Ctrl++and⌘− / Ctrl+−,⌘0 / Ctrl+0to fit the document on screen,⌘1 / Ctrl+1for 100%. The Zoom tool isZ. - Pan — hold Space and drag, or use the Hand tool (
H). - Rotate the view — Shift+
Hcycles to Rotate View; double-click its toolbar button to reset. - Rulers, guides and grid —
⌘R / Ctrl+Rtoggles rulers; guides, smart guides, grid and pixel grid live underView ▸ Show, with snapping underView ▸ Snap To.
Saving your work
PhotoFresco's native format is PSD — the same layered format Photoshop uses.

- Save / Save As (
⌘S / Ctrl+S) writes a.psdfile to your machine with layers, masks and styles intact. - File ▸ Export ▸ Export As… produces a flattened PNG, JPEG or WebP — with a quality slider for JPEG/WebP and 0.5×/1×/2× scaling. Quick Export as PNG skips the dialog.
- Save to My Documents keeps a copy in the in-browser library so it's there next visit, even offline.
Unsaved work is autosaved to your own device as you edit — if the tab crashes or closes, the next visit offers to recover your document with pixels, layers and masks intact (cloud sync requires separate consent). Undo history doesn't survive a closed tab, though, so
⌘S / Ctrl+Sis still the habit worth keeping.
Where to go next
- Tools reference — every tool group and its options.
- Layers, masks & selections — the core editing model.
- Keyboard shortcuts — including the few chords the browser reserves for itself.
- Actions & saved workflows — record a sequence of edits once and replay it on other images.
- Use PhotoFresco with AI agents — let Claude Code, Codex or another agent edit in a window you approve.
Last updated