
How to cut out a subject and change a photo's background
Change the background of a photo online — cut out the subject with a wand selection and a layer mask, then place any new backdrop behind it. Free, in the browser, with on-device editing.
Swapping the background of a photo is a cut-out plus one extra move: once the subject sits on its own masked layer, anything you slide underneath becomes the new backdrop — another photo, a flat color, a gradient. Editing runs on your device; session recording can upload opened images to help improve PhotoFresco. See Privacy.
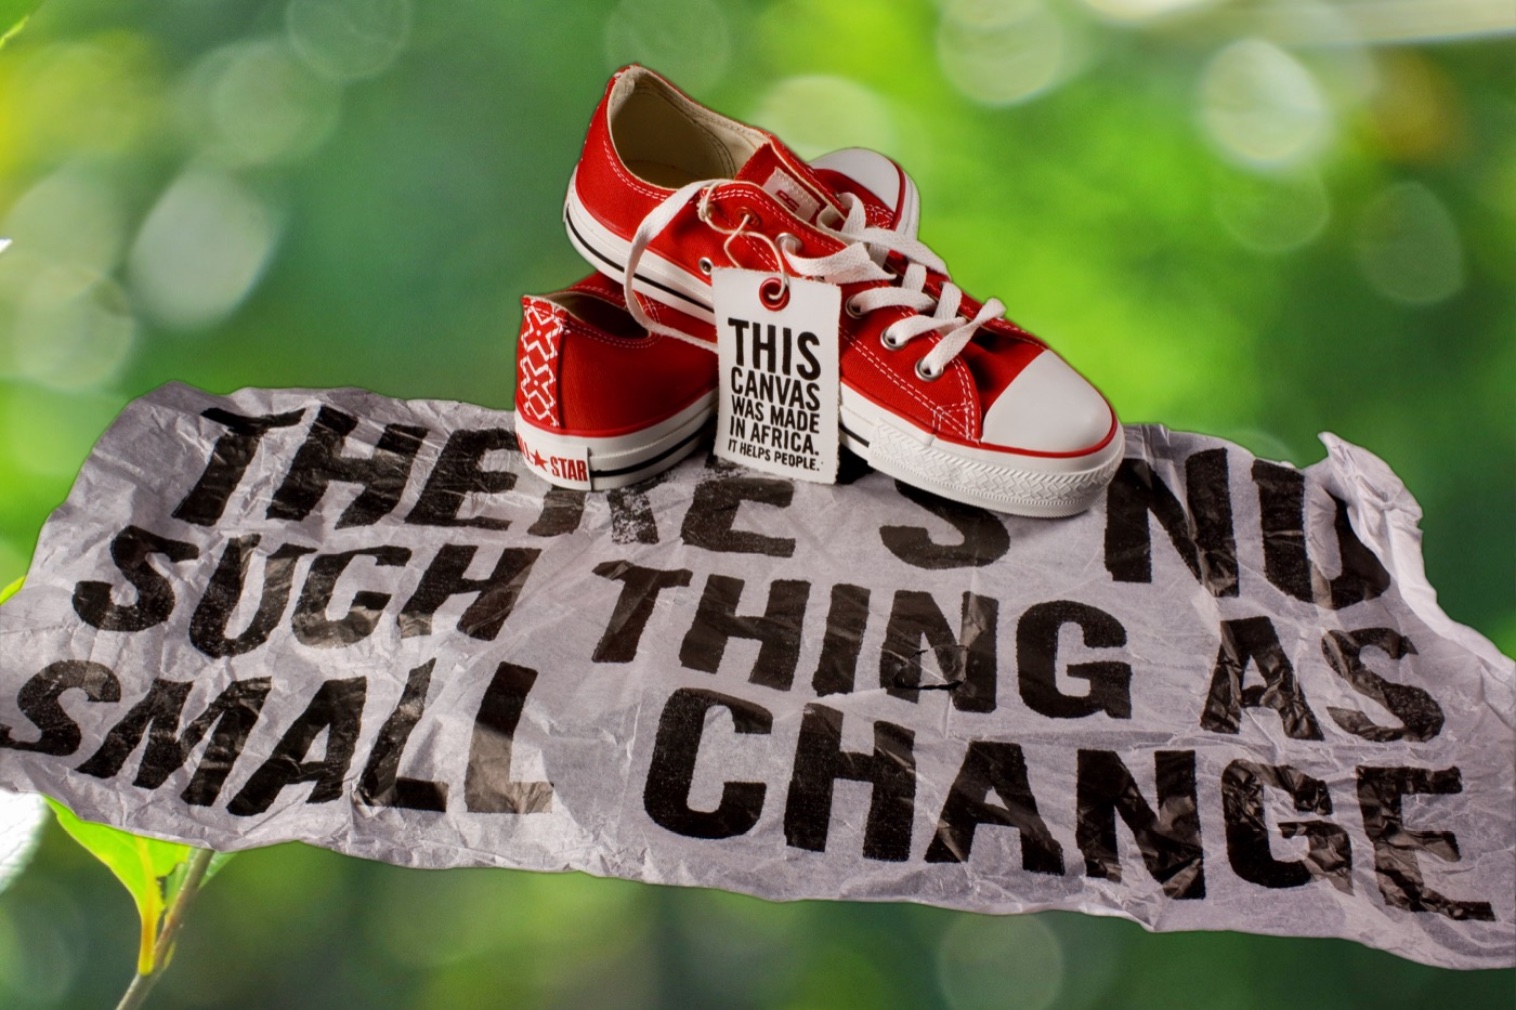
Change a photo's background in six steps
- Open your photo (
File ▸ Open…) and pick the Magic Wand tool (W). - Click the old background to select it; Shift-click to add any regions the first click missed. The selection shows as marching ants.
- Flip the selection onto the subject with
Select ▸ Inverse(⇧⌘I / Ctrl+Shift+I), then tighten the edge:Select ▸ Contract…by 1 px andSelect ▸ Feather…by 0.5–1 px. - Click
Layer ▸ Layer Mask ▸ Add— the old background disappears, leaving the subject on transparency. - Bring in the new backdrop with
File ▸ Place Embedded…. It arrives as its own layer. - The new image lands on top, so send it behind the subject:
Layer ▸ Arrange ▸ Send to Back. Done — reposition either layer independently with the Move tool (V).
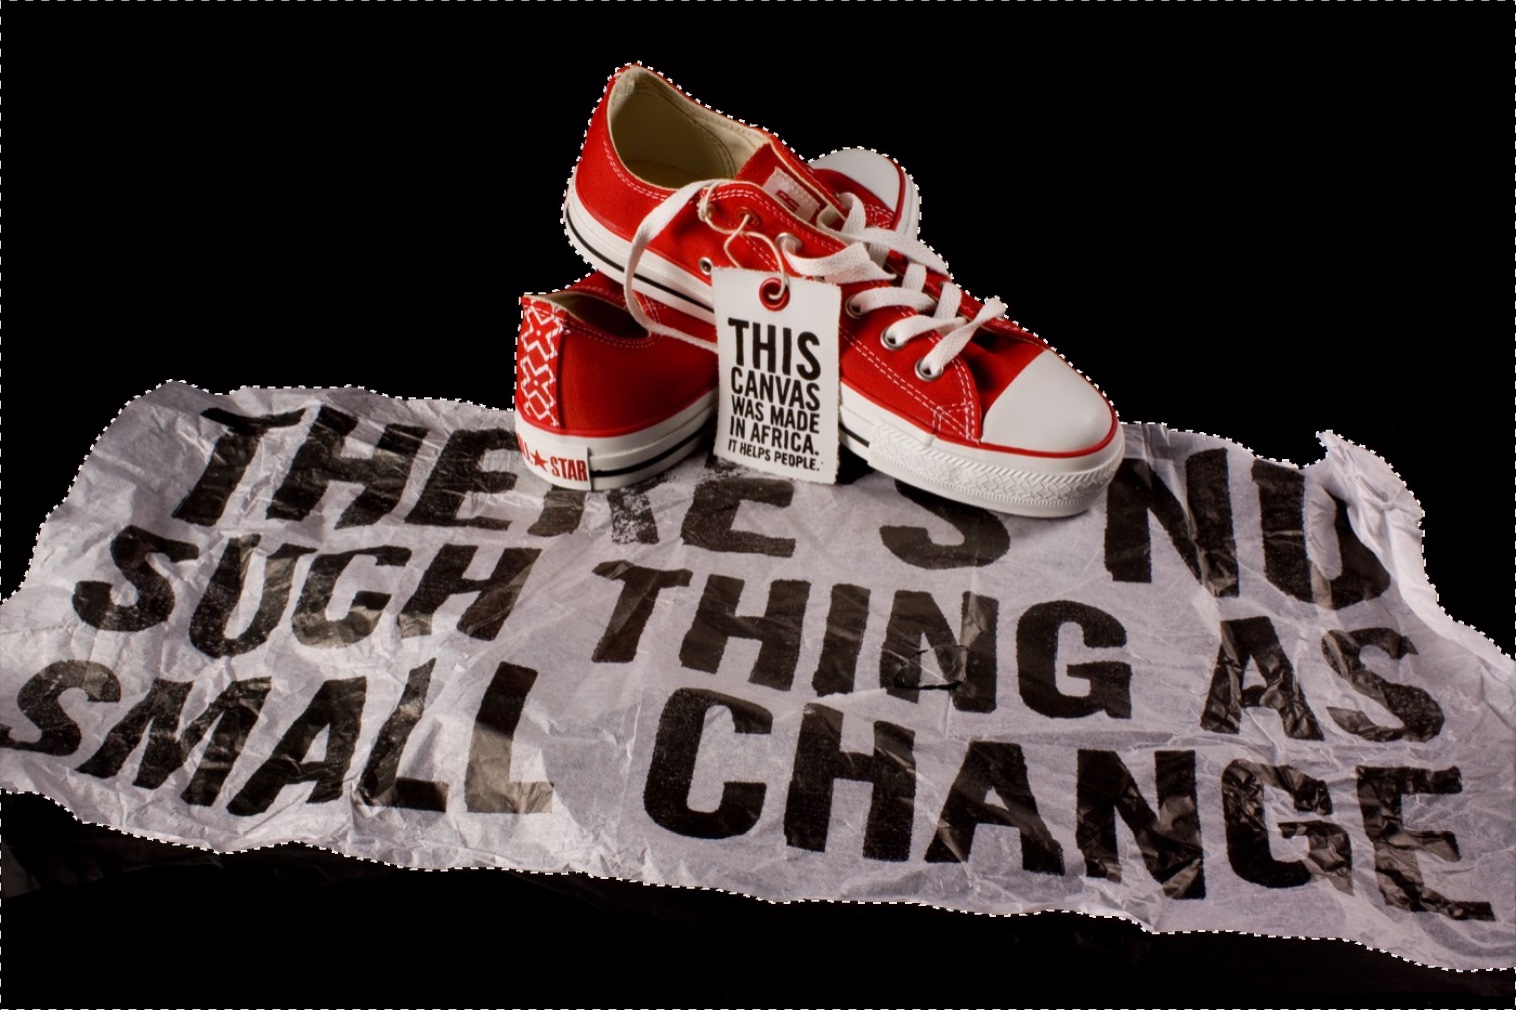
The wand works best on flat backdrops; for busy ones, trace the subject with the Polygonal Lasso or Object Selection instead. The selection and masking mechanics are covered step-by-step in How to remove the background from an image — this page continues where that one ends.
The two-layer setup
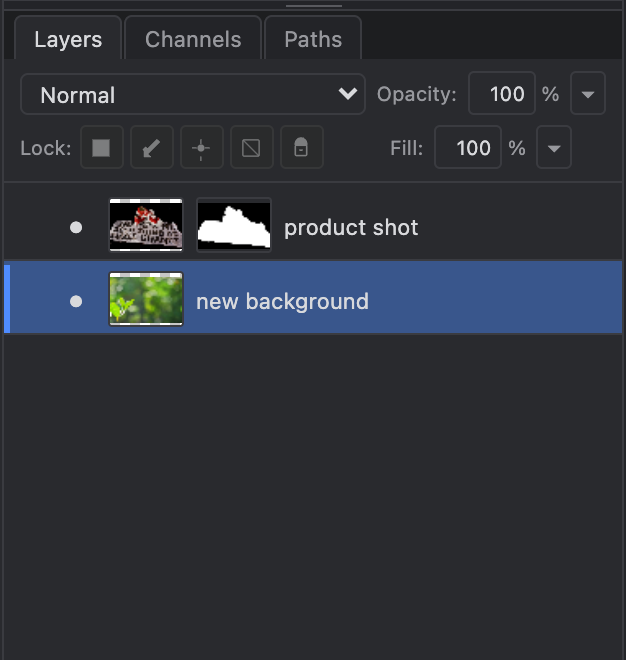
That's the whole trick, and it's fully non-destructive:
- The top layer is your original photo with a layer mask — the old background is hidden, not deleted. Click the mask thumbnail and paint white/black with the Brush to refine the edge at any point.
- The bottom layer is the new backdrop. Swap it, recolor it, blur it, or move it without ever touching the subject.
Making the composite believable
- Match the light. A subject lit from the left pasted onto a background lit from the right never looks right. Pick a backdrop whose light direction roughly agrees.
- Match the blur. If the new background is tack-sharp behind a softly-shot subject, blur it: with the background layer active,
Filter ▸ Blur ▸ Gaussian Blur…a few pixels sells the depth. - Check the edges at 100%. Zoom in (Z or
⌘+ / Ctrl++) and fix any leftover fringe by painting the mask. - Export as JPEG or WebP for sharing, or keep a layered PSD so you can re-swap the backdrop later.
Last updated