
How to remove the background from an image
Remove the background from an image online, free in your browser — select the backdrop with the Magic Wand, mask it out non-destructively, and export a transparent PNG.
Removing a background is the bread-and-butter cut-out job: isolate the subject, drop the backdrop, export a transparent PNG. In PhotoFresco you can do the whole thing manually — no upload step, no watermark, no account — and because the removal is a layer mask, it stays editable the entire time.
This guide uses the Magic Wand, which is the fast route when the background is reasonably flat (studio backdrops, product shots, walls, sky). One-click AI background removal is coming to PhotoFresco as well.
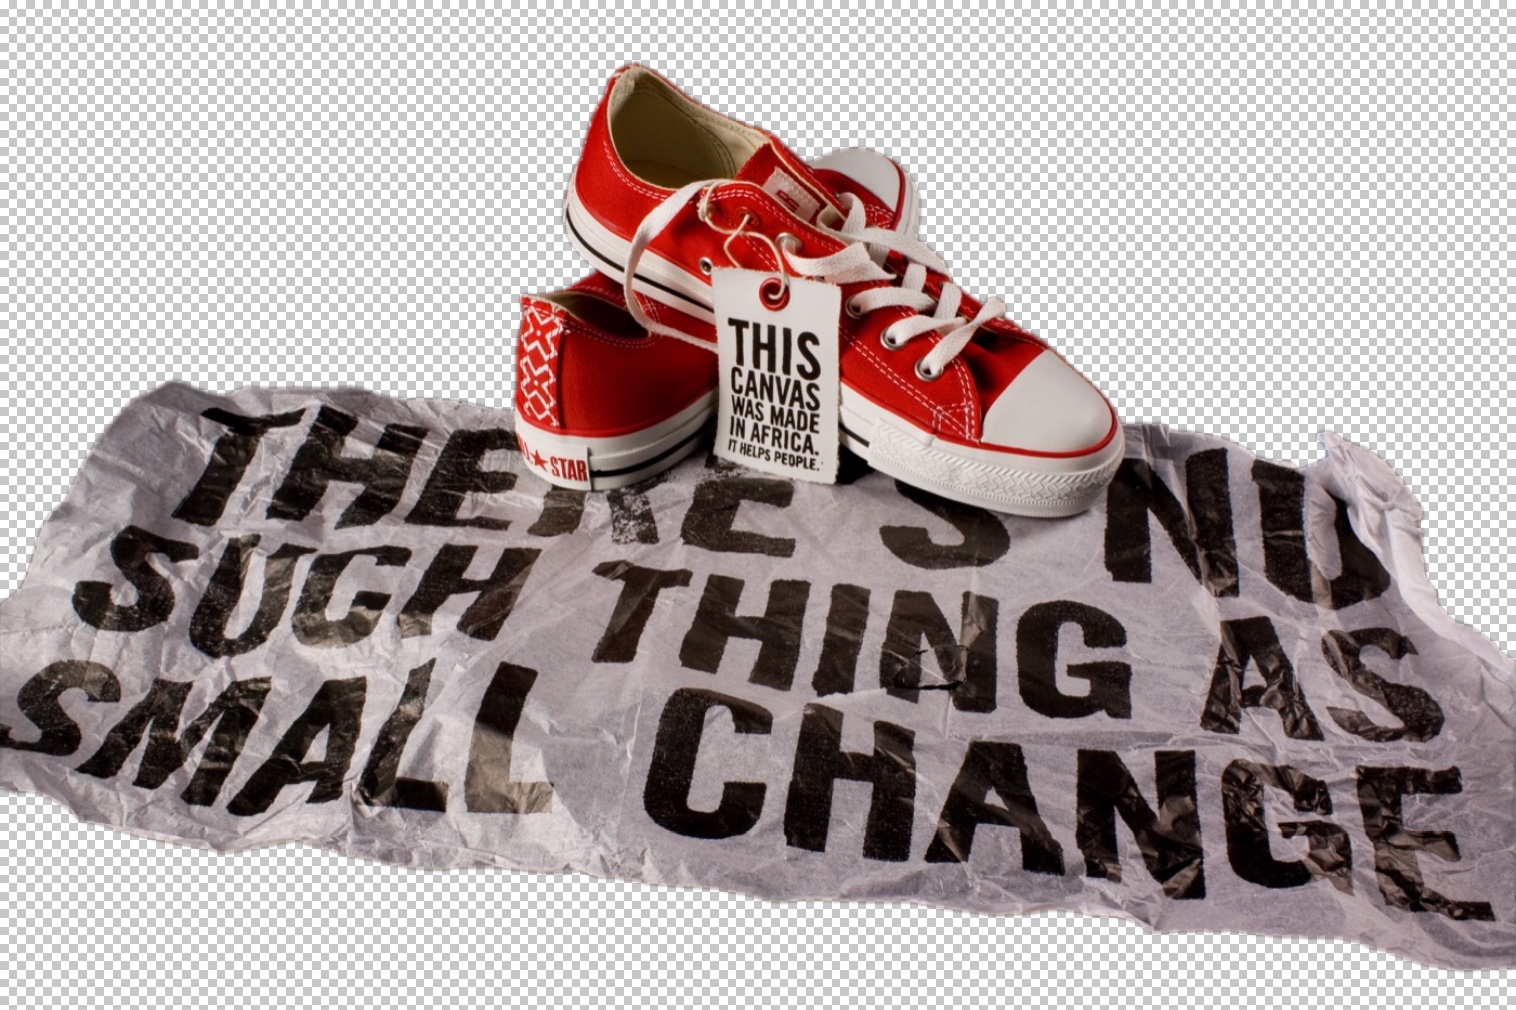
Remove a background in five steps
- Open your image (
File ▸ Open…) and pick the Magic Wand tool (W). - Click the background. Every similar-colored pixel connected to your click gets selected — you'll see the marching ants. Shift-click any leftover background regions to add them; Alt/Option-click removes areas grabbed by mistake.
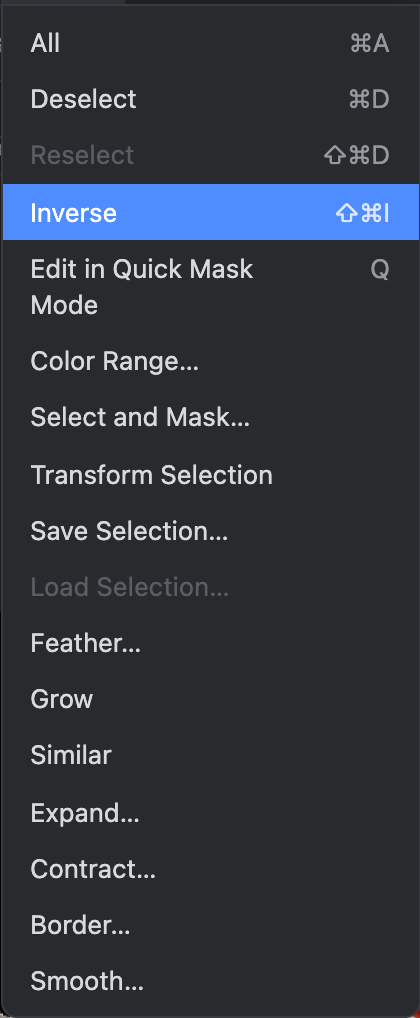
- Your selection is the background, but you want the subject — run
Select ▸ Inverse(⇧⌘I / Ctrl+Shift+I). - Tighten the edge:
Select ▸ Contract…by 1 px pulls the selection just inside the subject, andSelect ▸ Feather…at 0.5–1 px softens the cut so it doesn't look razor-sharp. - Click
Layer ▸ Layer Mask ▸ Add. The mask keeps what's selected and hides the rest — the checkerboard you now see is transparency. Export withFile ▸ Export ▸ Export As…as PNG (JPEG can't store transparency).
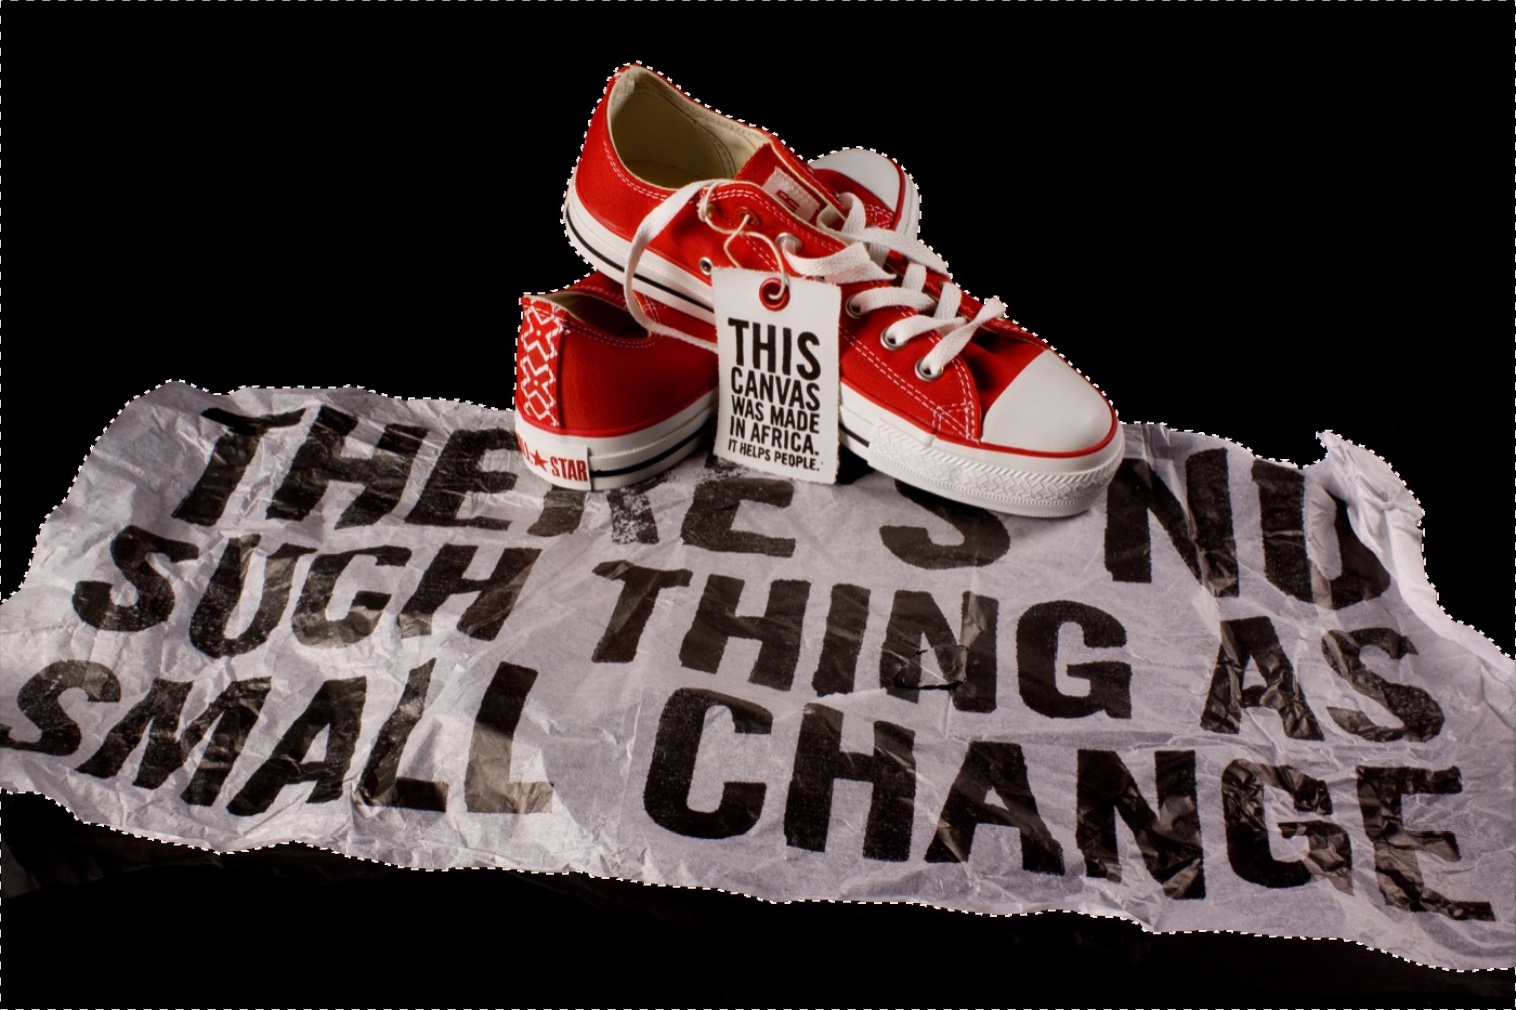
Getting a clean wand selection

The wand's behavior is all in its options bar:
- Tolerance (default 32) — how different a pixel may be and still join the selection. If the wand selects too little, raise it; if it eats into the subject, lower it and Shift-click regions instead.
- Contiguous — on, the wand only takes pixels connected to your click, so background colors that also appear inside the subject are safe. Leave it on for cut-outs.
- Anti-alias — keeps the selection edge smooth rather than stair-stepped. Leave it on.
If the background is busy rather than flat, the wand is the wrong tool — trace the subject with the Polygonal Lasso or Object Selection instead (see the Tools reference), then continue from step 3.
Why a mask instead of deleting
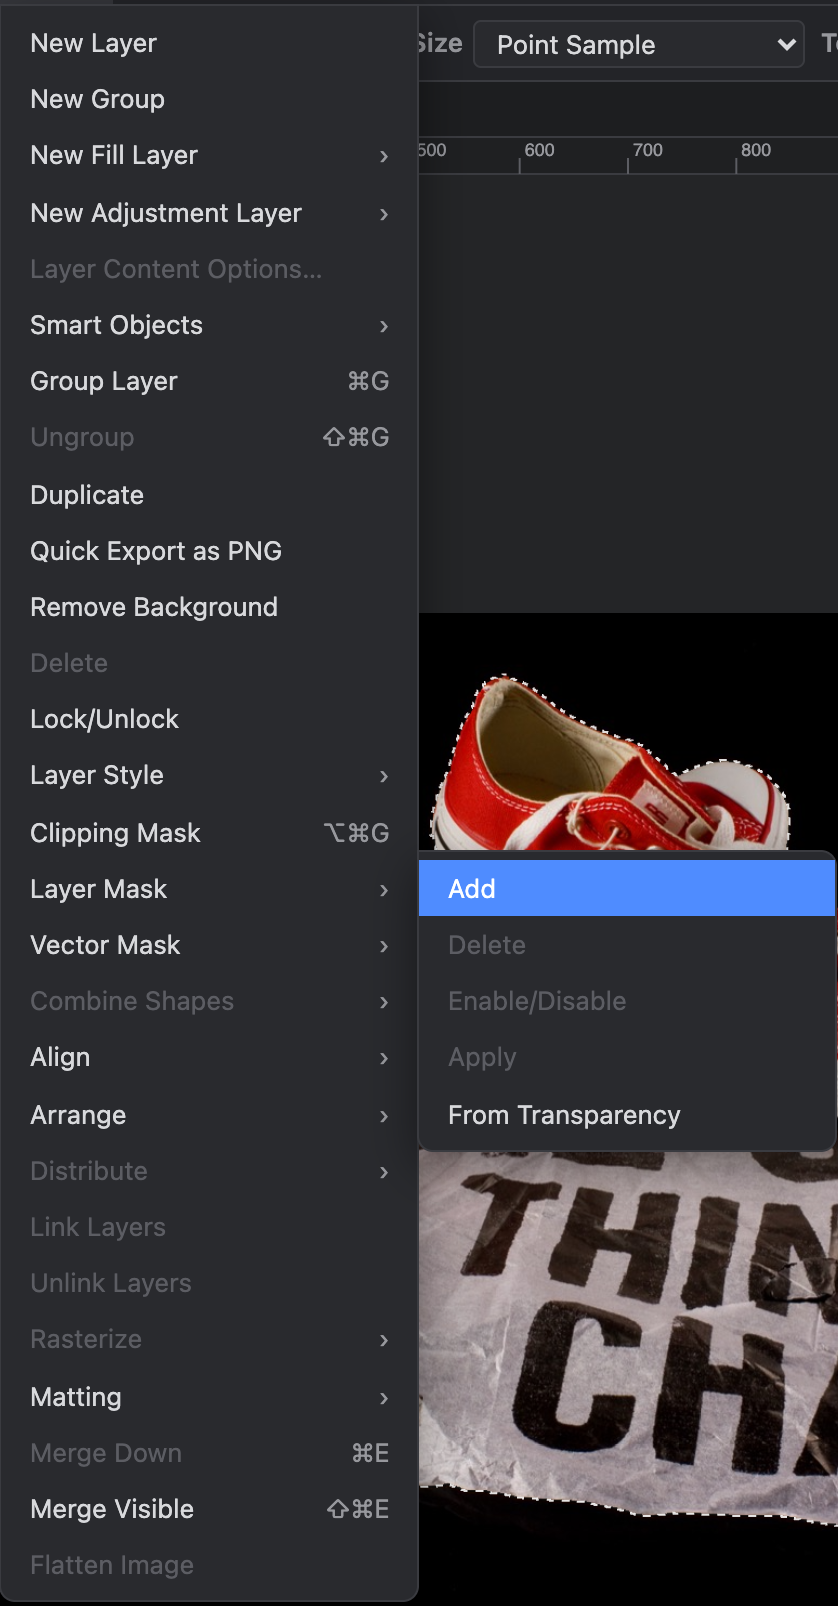
Layer ▸ Layer Mask ▸ Add hides pixels instead of destroying them. The payoff shows up two minutes later, when you spot a chewed-off edge:
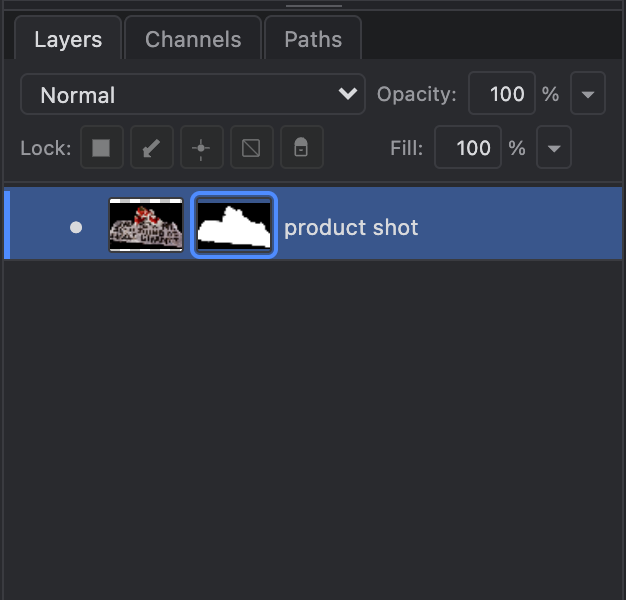
- Click the mask thumbnail in the Layers panel and paint on the canvas with the Brush: white brings pixels back, black hides them. Missing hair? Paint it white. Leftover backdrop? Paint it black.
- Nothing is baked in until you flatten or export, and the mask round-trips through PSD files.
For the full mask toolkit — disabling, applying, vector masks — see Layers, masks & selections.
What to put behind it
A transparent PNG drops onto any web page, slide or design. If you'd rather swap in a new backdrop right here, keep going with How to change a photo's background — it continues from exactly this point.
Last updated