
Tip - how to use a layer mask
A short tip on layer masks. Hide part of a layer with black paint and bring it back with white, without erasing anything. Free in your browser with PhotoFresco.
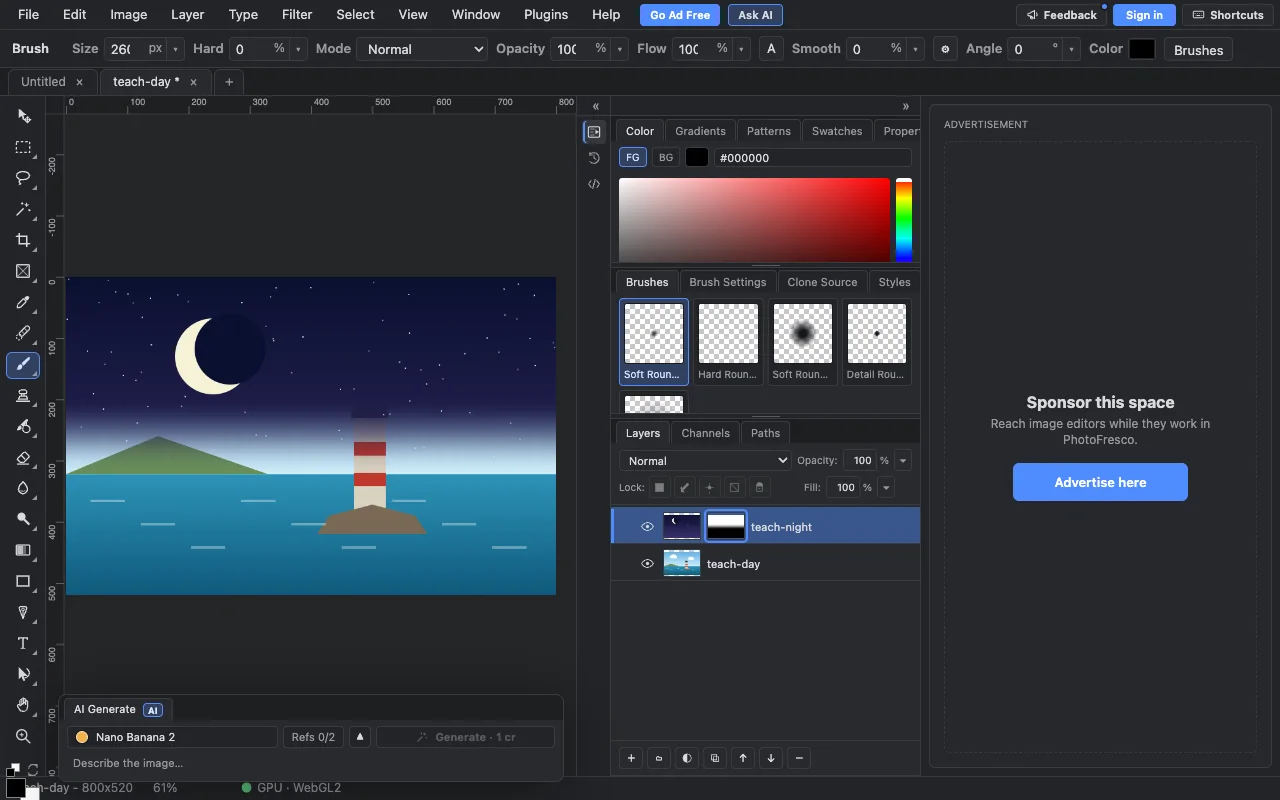
Say you put a night sky over a daytime harbour and want the harbour to show through at the bottom. If you erase the sky, it is gone. A layer mask does the same job without deleting anything: white on the mask shows the layer, black hides it, and you can change your mind at any time.
Add and paint a mask
- Open a picture in the editor and add a second one on top with
File ▸ Import ▸ Image as Layer…. - With the top layer selected, choose
Layer ▸ Layer Mask ▸ Add. A white box appears next to the layer's picture in the Layers panel. Click it so it has an outline: that is the box you paint on.
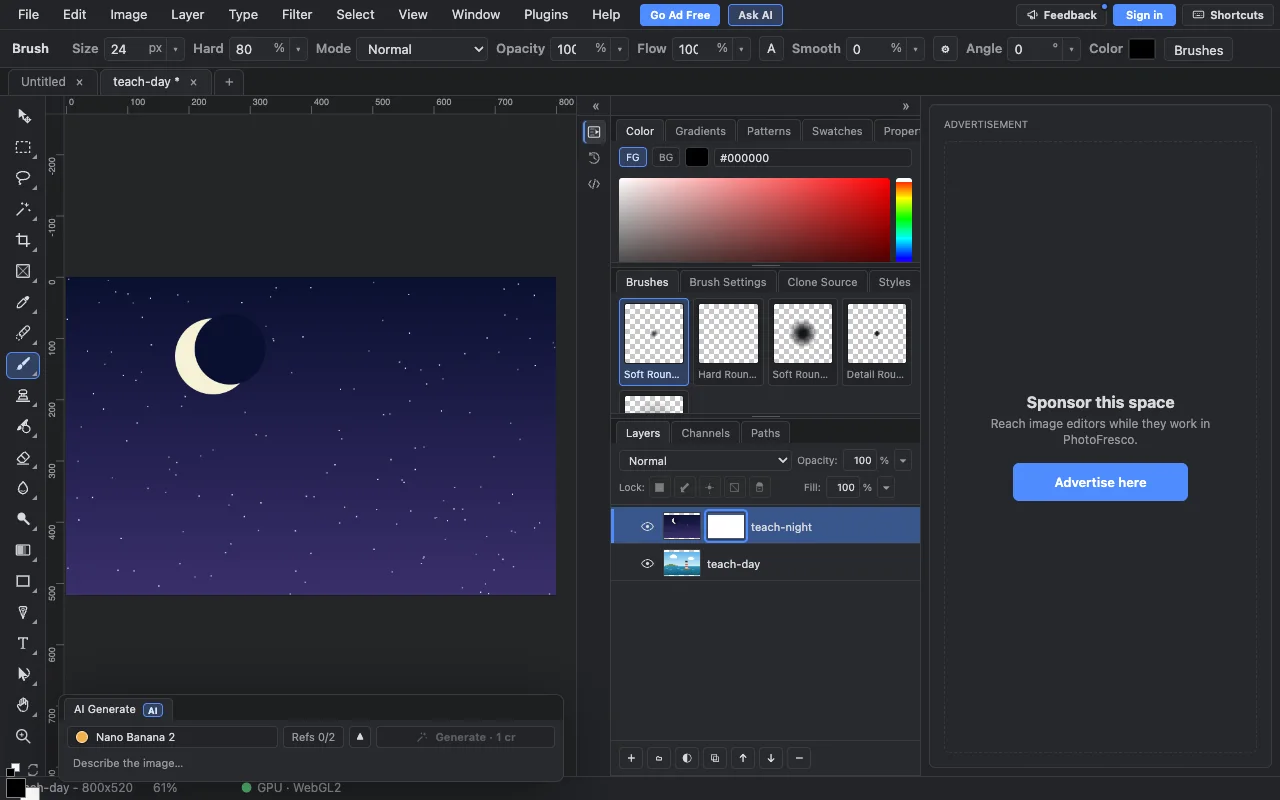
- Choose the Brush (B). In the bar at the top set Hard to 0 for a soft edge and Size to something large. Make sure the colour is black.
- Paint over the part you want to hide. It disappears from the picture, and the mask box turns black in that place.
- Painted too much? Press X to swap black and white, and paint over it again to bring it back.
Good to know
- The Gradient tool paints the layer's own pixels, not the mask, in this version. Use the Brush for masks.
- To cut a subject out of a plain background, make a selection first and then add the mask. See How to remove the background from an image.
- Save a PSD (
File ▸ Save As…) to keep the mask editable.
Next
- Tip: what layers are
- Tip: make a background transparent
- Layers, masks and selections for the full reference
- For a class: Lesson plan: photo montage with layers and a layer mask
Last updated